
How to Document Water Damage for Insurance: Photo & Video Checklist
One of the biggest factors in an insurance-reviewed water damage file is the quality of your initial documentation. Adjusters can evaluate what they can see and verify. A short documentation routine before cleanup begins can create a clearer record for review.
Why early photos matter more than you think
Restoration starts as soon as the first towel hits the floor. Water gets extracted, soaked items get moved or thrown out, baseboards come off, drywall gets cut, and within 48 hours the evidence of what was actually wet can change. If your adjuster arrives later, photos and videos may help them understand the original condition. A clearer pre-mitigation record can make the review easier.
The seven-step checklist
Work through this list early after the loss, before professional extraction starts when conditions allow. If you have called a restoration team, ask them to pause briefly so you can document before they bring in equipment that will alter the scene.
- Check safety before photographing. Shut off electricity to wet areas at the breaker if water has reached outlets, switches, or appliances. Stay out of rooms with sagging ceilings or active electrical hazards.
- Capture the source of the water. Photograph the leak source from multiple angles — the burst pipe, failed appliance, overflowing fixture, or roof entry point. Include a wide shot for context and close-ups of any visible damage to the source itself.
- Photograph each affected room top to bottom. For every room with water damage, take wide-angle photos of all four walls, the ceiling, and the floor. Then take close-ups of water lines on walls, soaked baseboards, wet flooring, and any visible staining or warping. Move clockwise around each room so nothing gets missed.
- Document every damaged content item. Photograph furniture, electronics, clothing, rugs, books, and personal items individually. Capture make and model numbers on electronics and appliances so the carrier has a clearer contents record to review. For high-value items, photograph any receipts or original packaging if available.
- Record visible water lines and marks. A high-water mark on a wall can help show how deep the water sat and how long. Photograph these clearly with a tape measure in frame if possible. Show staining patterns on drywall and ceiling tiles. These details can help the restoration team and adjuster understand contamination category, affected materials, and drying versus removal decisions.
- Take a slow video walkthrough. Record a 2-3 minute video starting at the source of the loss, moving through each affected room. Narrate as you go: name the room, describe what is wet, point to the water line, mention how long the water sat if you know. Adjusters watch these to understand the sequence of damage in a way photos alone cannot convey.
- Save everything to cloud storage. Upload all photos and videos to Google Drive, iCloud, Dropbox, or your insurer's claim portal before cleanup begins. Keep a copy on your phone and a backup copy.
Things to avoid that hurt claims
- Do not throw anything away before photographing it. Wet drywall scraps, ruined carpet padding, soaked furniture — adjusters need to see all of it. Bag and tag damaged contents, but keep them accessible until the claim is documented.
- Do not delete original photos to free up phone storage. Adjusters sometimes ask for original metadata to verify timing. Send copies; keep originals.
- Do not edit or filter images. An enhanced photo can look manipulated to a skeptical adjuster, even if it is not. Submit unedited originals.
- Do not delay reasonable mitigation for documentation. Once photos are taken, start reasonable drying or mitigation steps. Many policies include duties after a loss, so ask your carrier what mitigation steps they expect.
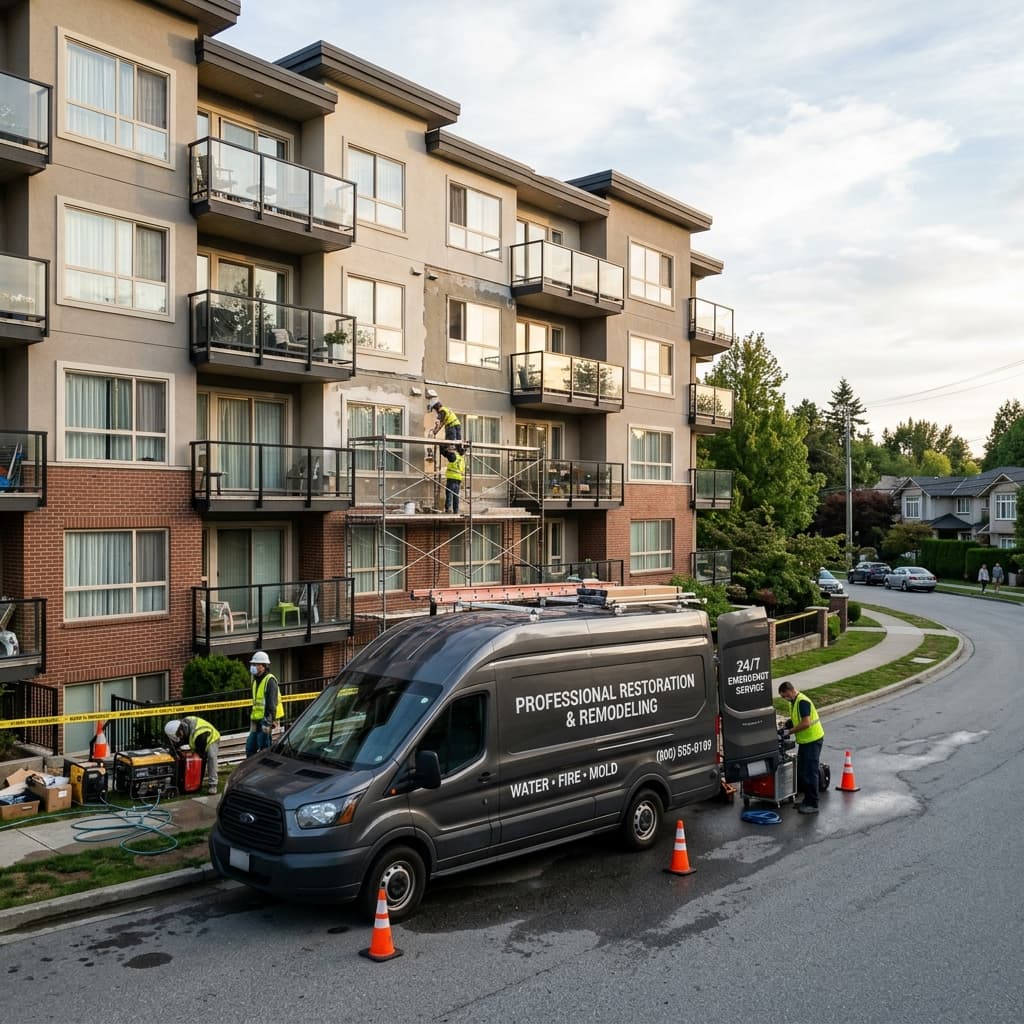
What your restoration company should document next
Once a professional restoration team arrives, they should pick up the documentation chain you started. Expect dated moisture meter readings, equipment placement notes, daily moisture-progress logs, thermal-imaging photos when useful, a written scope tied to affected rooms, and closeout documentation showing dry-standard targets before reconstruction begins. Together with your initial homeowner documentation, this paper trail gives the adjuster a clearer restoration record.
One last tip: open the claim while you photograph
Many homeowner policies require prompt notice of a loss. You can call your insurance company's claim line while you walk through and photograph: give them the basic facts, affected rooms, and date of loss. Then submit photos and videos through their portal or app as soon as you finish documenting. Earlier notice can help the carrier begin review sooner.