
How to Document Water Damage for Insurance: Photo & Video Checklist
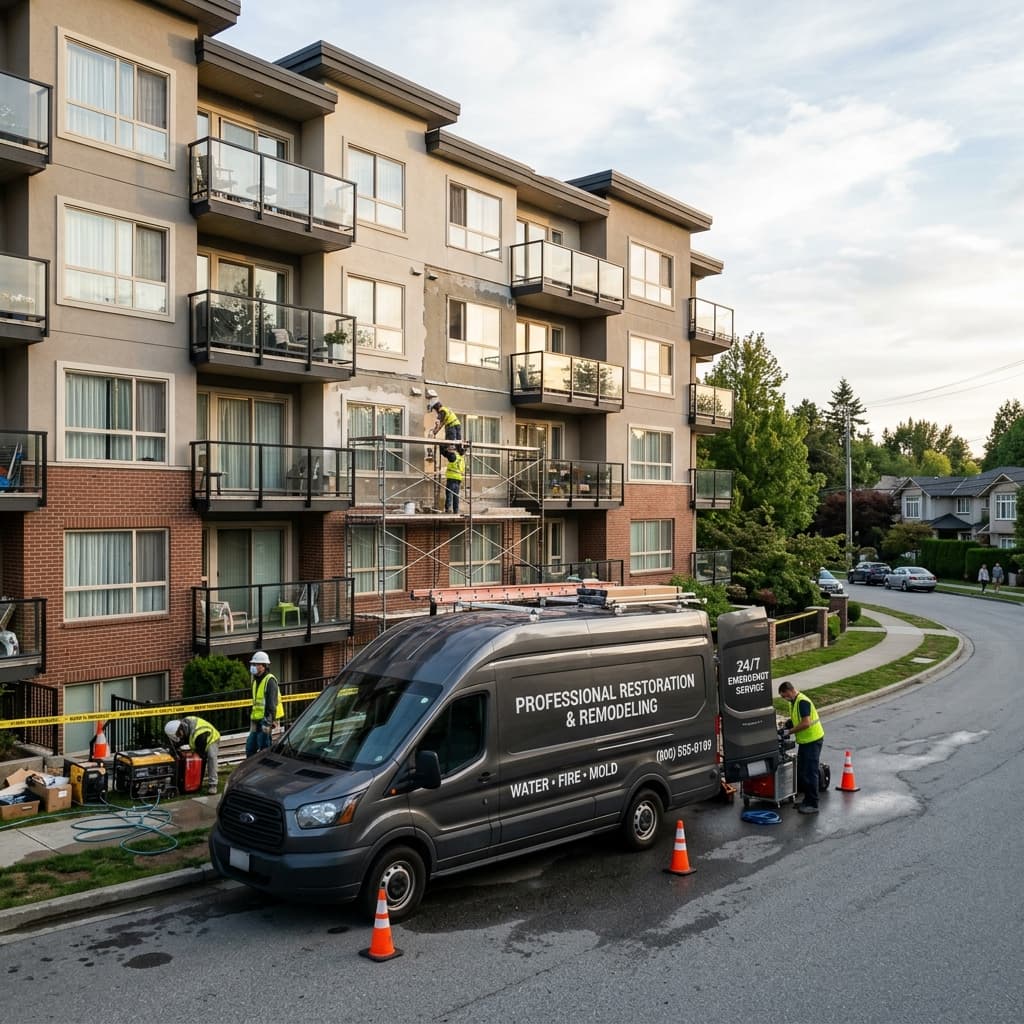
The single biggest determinant of how much your insurance company pays for a water damage claim is the quality of your initial documentation. Adjusters can only approve what they can see, and what they cannot see they must take your word for — which is rarely enough. A 15-minute documentation routine, done before any cleanup begins, can be worth tens of thousands of dollars in covered losses.
Why early photos matter more than you think
Restoration starts as soon as the first towel hits the floor. Water gets extracted, soaked items get moved or thrown out, baseboards come off, drywall gets cut, and within 48 hours the evidence of what was actually wet is gone. If your adjuster arrives three days later — which is common — there is no longer any way for them to independently verify the scope of the loss without your photos. Most denied or reduced water damage claims trace back to one root cause: not enough documentation captured before mitigation began.
The seven-step checklist
Work through this list in the first 30-60 minutes after the loss, before professional extraction starts. If you have called a restoration team, ask them to wait a few minutes so you can document before they bring in equipment that will alter the scene.
- Ensure safety before photographing. Shut off electricity to wet areas at the breaker if water has reached outlets, switches, or appliances. Stay out of rooms with sagging ceilings or active electrical hazards. No photo is worth an injury.
- Capture the source of the water. Photograph the leak source from multiple angles — the burst pipe, failed appliance, overflowing fixture, or roof entry point. Include a wide shot for context and close-ups of any visible damage to the source itself.
- Photograph each affected room top to bottom. For every room with water damage, take wide-angle photos of all four walls, the ceiling, and the floor. Then take close-ups of water lines on walls, soaked baseboards, wet flooring, and any visible staining or warping. Move clockwise around each room so nothing gets missed.
- Document every damaged content item. Photograph furniture, electronics, clothing, rugs, books, and personal items individually. Capture make and model numbers on electronics and appliances — this drives content coverage on your policy. For high-value items, photograph any receipts or original packaging if available.
- Record visible water lines and marks. A high-water mark on a wall tells the adjuster how deep the water sat and how long. Photograph these clearly with a tape measure in frame if possible. Show staining patterns on drywall and ceiling tiles. These details often determine whether the loss is classified as Category 1, 2, or 3 — which affects what gets replaced versus dried in place.
- Take a slow video walkthrough. Record a 2-3 minute video starting at the source of the loss, moving through each affected room. Narrate as you go: name the room, describe what is wet, point to the water line, mention how long the water sat if you know. Adjusters watch these to understand the sequence of damage in a way photos alone cannot convey.
- Save everything to cloud storage immediately. Upload all photos and videos to Google Drive, iCloud, Dropbox, or your insurer's claim portal before any cleanup begins. Keep a copy on your phone and a copy backed up. Phones get lost, get wet, or fail at the worst times. Lost evidence is lost claim value.
Things to avoid that hurt claims
- Do not throw anything away before photographing it. Wet drywall scraps, ruined carpet padding, soaked furniture — adjusters need to see all of it. Bag and tag damaged contents, but keep them accessible until the claim is documented.
- Do not delete original photos to free up phone storage. Adjusters sometimes ask for original metadata to verify timing. Send copies; keep originals.
- Do not edit or filter images. An enhanced photo can look manipulated to a skeptical adjuster, even if it is not. Submit unedited originals.
- Do not delay mitigation for documentation. Once photos are taken, get drying started immediately. Your policy generally requires you to take reasonable steps to prevent secondary damage; refusing to dry the structure while you wait for an adjuster can give your carrier a reason to reduce the payout.
What your restoration company should document next
Once a professional restoration team arrives, they should pick up the documentation chain you started. Expect: dated moisture meter readings on walls, floors, and ceilings logged by location; a drying chamber map showing where air movers and dehumidifiers are placed; daily moisture-progress logs showing readings dropping toward the dry standard; thermal-imaging photos of hidden moisture behind walls; a written scope of work tied to each affected room; and a final clearance certificate confirming the structure hit the target dry standard before reconstruction begins. Together with your initial homeowner documentation, this is the paper trail that lets an adjuster approve the full claim without delay.
One last tip: open the claim while you photograph
Most homeowner policies require "prompt notice" of a loss. You can call your insurance company's 24-hour claim line while you walk through and photograph — give them the basic facts (date, source, affected rooms) and get a claim number. Then submit photos and videos through their portal or app as soon as you finish documenting. The faster the claim is opened, the faster an adjuster is assigned, and the faster repair authorizations move.